Custom Attributes
Chatlake supports custom attributes other than standard data attributes (a default set of data about your conversations/contacts like Name, Email, Location, etc.). A custom attribute tracks facts about your contacts/conversations. The custom attribute can be anything, E.g.:
- Subscription plan
- Subscribed date
- Signup date
- Most ordered item
- Ordered product link
- Last transaction date
The only difference between custom and standard attributes is standard data attributes automatically get updated.
Custom data attributes are the information you attached to conversation/customers, like how many times they've ordered a product, when they signup, or what plan they're on. So you can set whatever attributes you want to understand your customer/conversation better, and it will all show in Chatlake.
Add a new custom attribute
To add a new custom attribute, navigate to the Custom Attributes by clicking on Settings -> Custom Attributes from the sidebar.
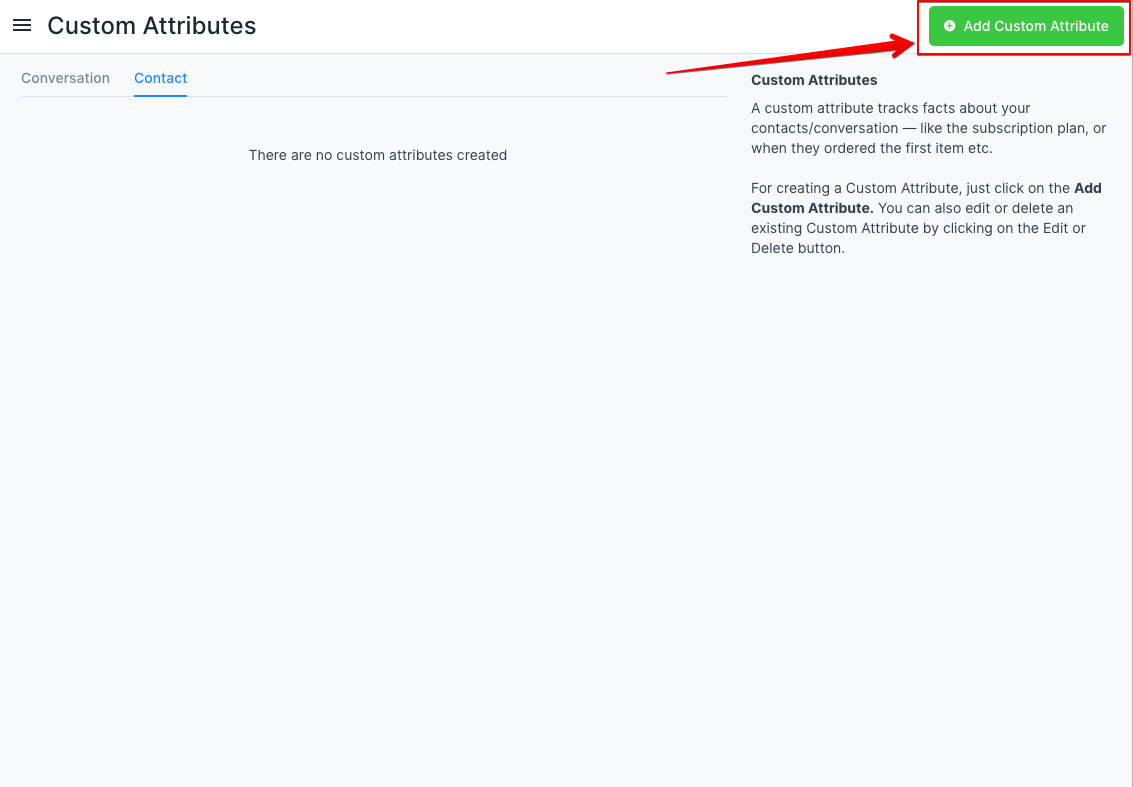
Click on Add custom attributes button available on the top right corner of the page, which will open a modal as shown below.
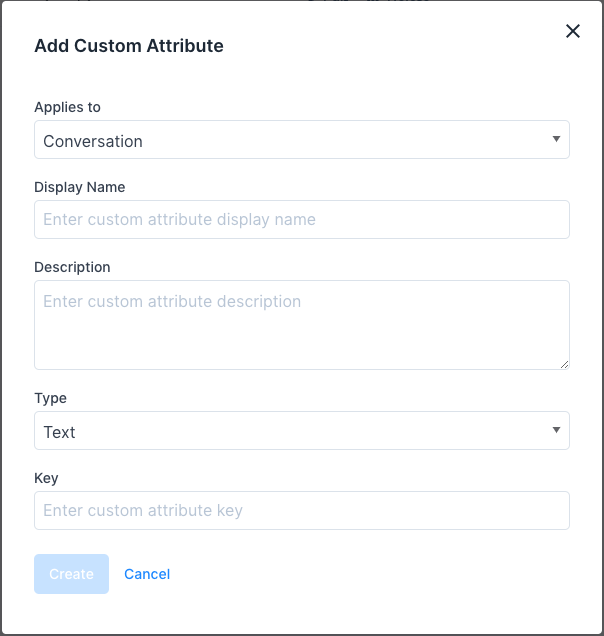
These are the inputs required to create the custom attribute:
| Input | Description |
|---|---|
| Applies to | Attribute type (Conversation/Contact) |
| Display name | Act as a label while rendering custom attribute |
| Description | Description about the custom attribute |
| Type | Type of data it will store. Currently supports Text, Number, Link, and Date |
| Key | Unique identifier attach to the custom attribute |
You cannot create a custom attribute with the same key twice in the account.
Once you enter the details, click on the Create button. If the request is successful, a message "Custom attribute added successfully" will be displayed.
Conversation custom attributes
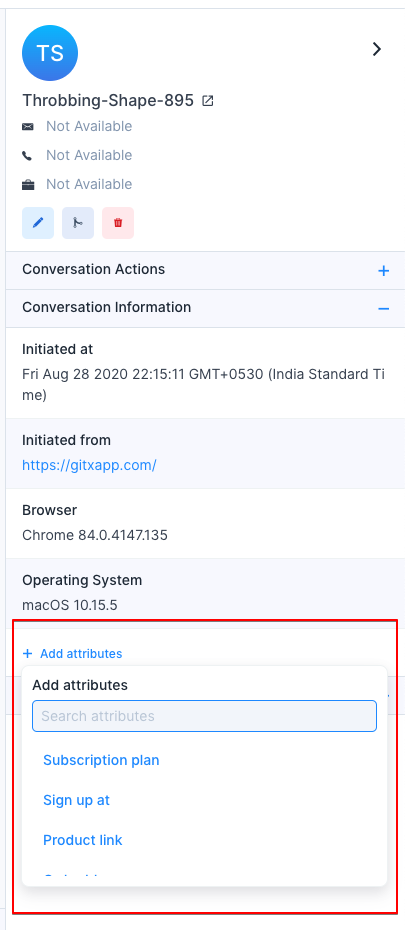
After creating conversation custom attribute, you will be able to add these attribute to the conversation via conversation sidebar.
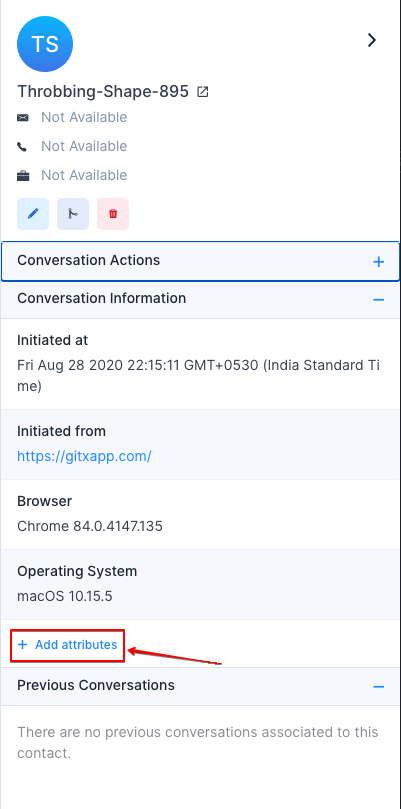
It will open a attribute dropdown selector, then select the attribute that you want to add
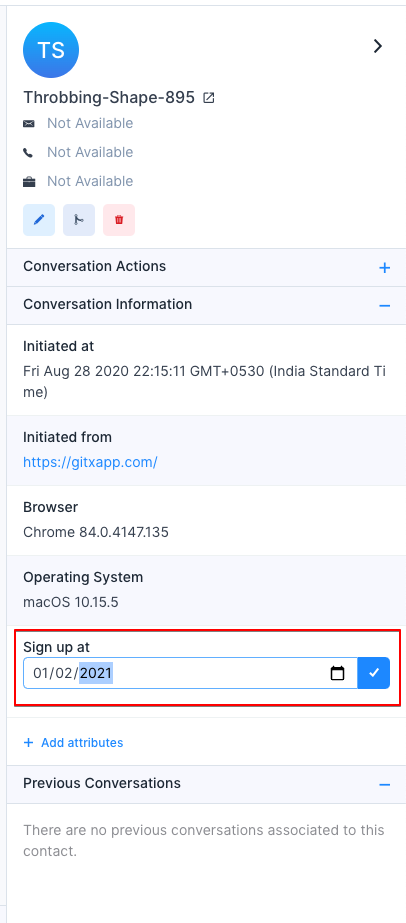
Enter a valid value click on the Create button. If the request is successful, a message "Attribute added successfully" will be displayed.
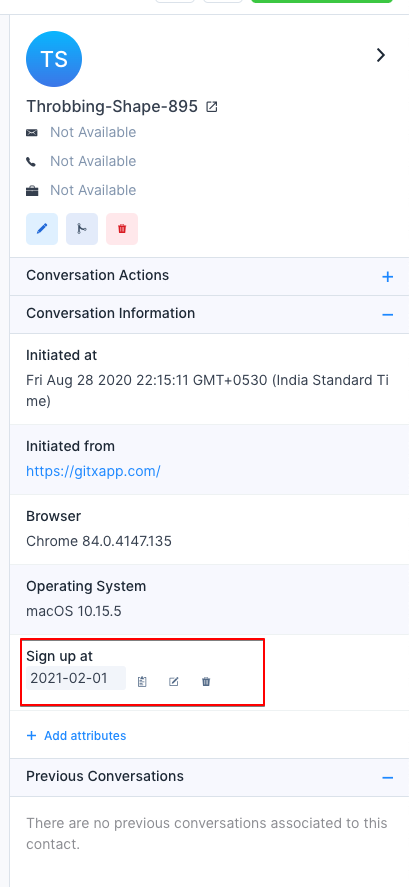
Also you could able see the actions like edit/delete/copy by hovering on the attribute.
Contact custom attributes
There two ways for setting custom attributes for contacts
1. Set attributes via SDK method
To set a contact custom attributes call setCustomAttributes method as follows,
window.$chatwoot.setCustomAttributes({
  key: value,
  // Key is a unique identifier which is already defined while creating a custom attribute
  // Value should be based on type (Currently support Number, Date, String and Number)
  // Double-check that your keys always have a JSON-valid value
  // You need to flatten nested JSON structure while using this function
});
Ex:
window.$chatwoot.setCustomAttributes({
  plan: "premium",
  signUpDate: new Date(),
});
You can view these attributes in the contact/conversation sidepanel
To delete a custom attribute, use deleteCustomAttribute as follows
window.$chatwoot.deleteCustomAttribute("attribute-key");
Ex:
window.$chatwoot.deleteCustomAttribute("signUpDate");
Prior to version v1.22 , all the attributes rendered as text. Please create new definition to display the value properly
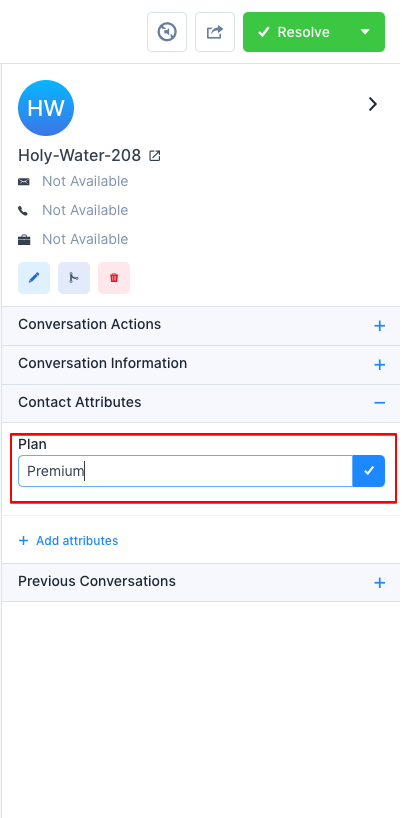
2. Set attributes via contact side panel
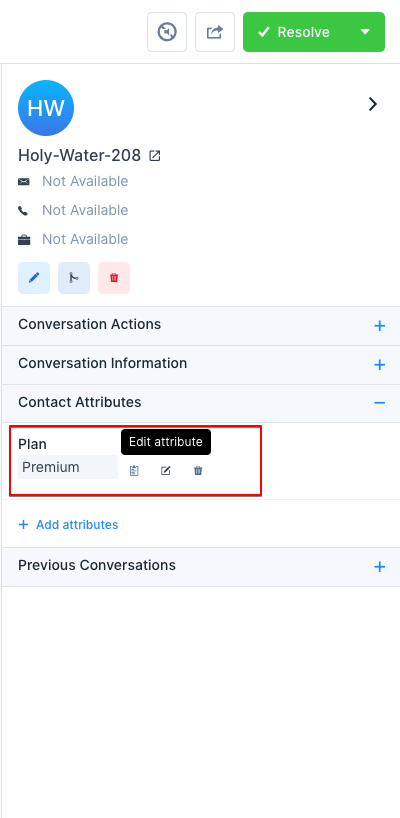
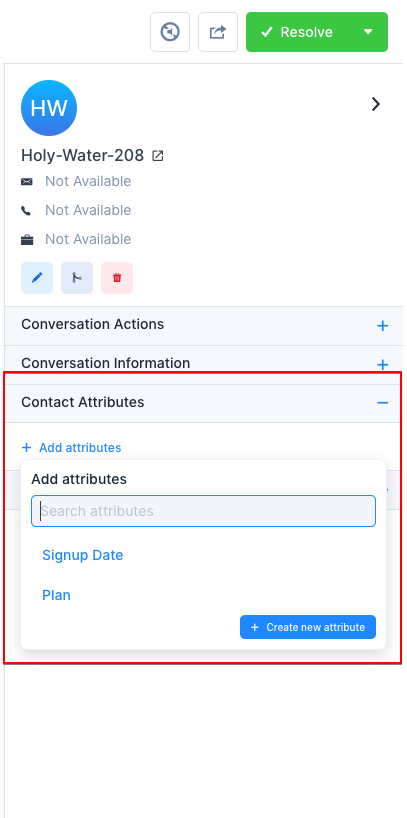
After creating contact custom attribute, you will be able to add these attribute to the contact via conversation/contact sidebar.

It will open a attribute dropdown selector, then select the attribute that you want to add
Enter a valid value, click on the Create button. If the request is successful, a message "Attribute added successfully" will be displayed.
Also you could able see the actions like edit/delete/copy by hovering on the attribute.