Add Agent
An Agent is a member of your Customer Support team. Agents will be able to view and reply to messages from your users.
Click on 'Settings' on the Left Hand Side OR 'Click here to Invite Team Member' to Add Agents. The Below Section will Open. Your Name will be listed by default as Administrator - Administrator will have access to all Chatlake features enabled for your account, including settings, along with all of a normal agents' privileges.

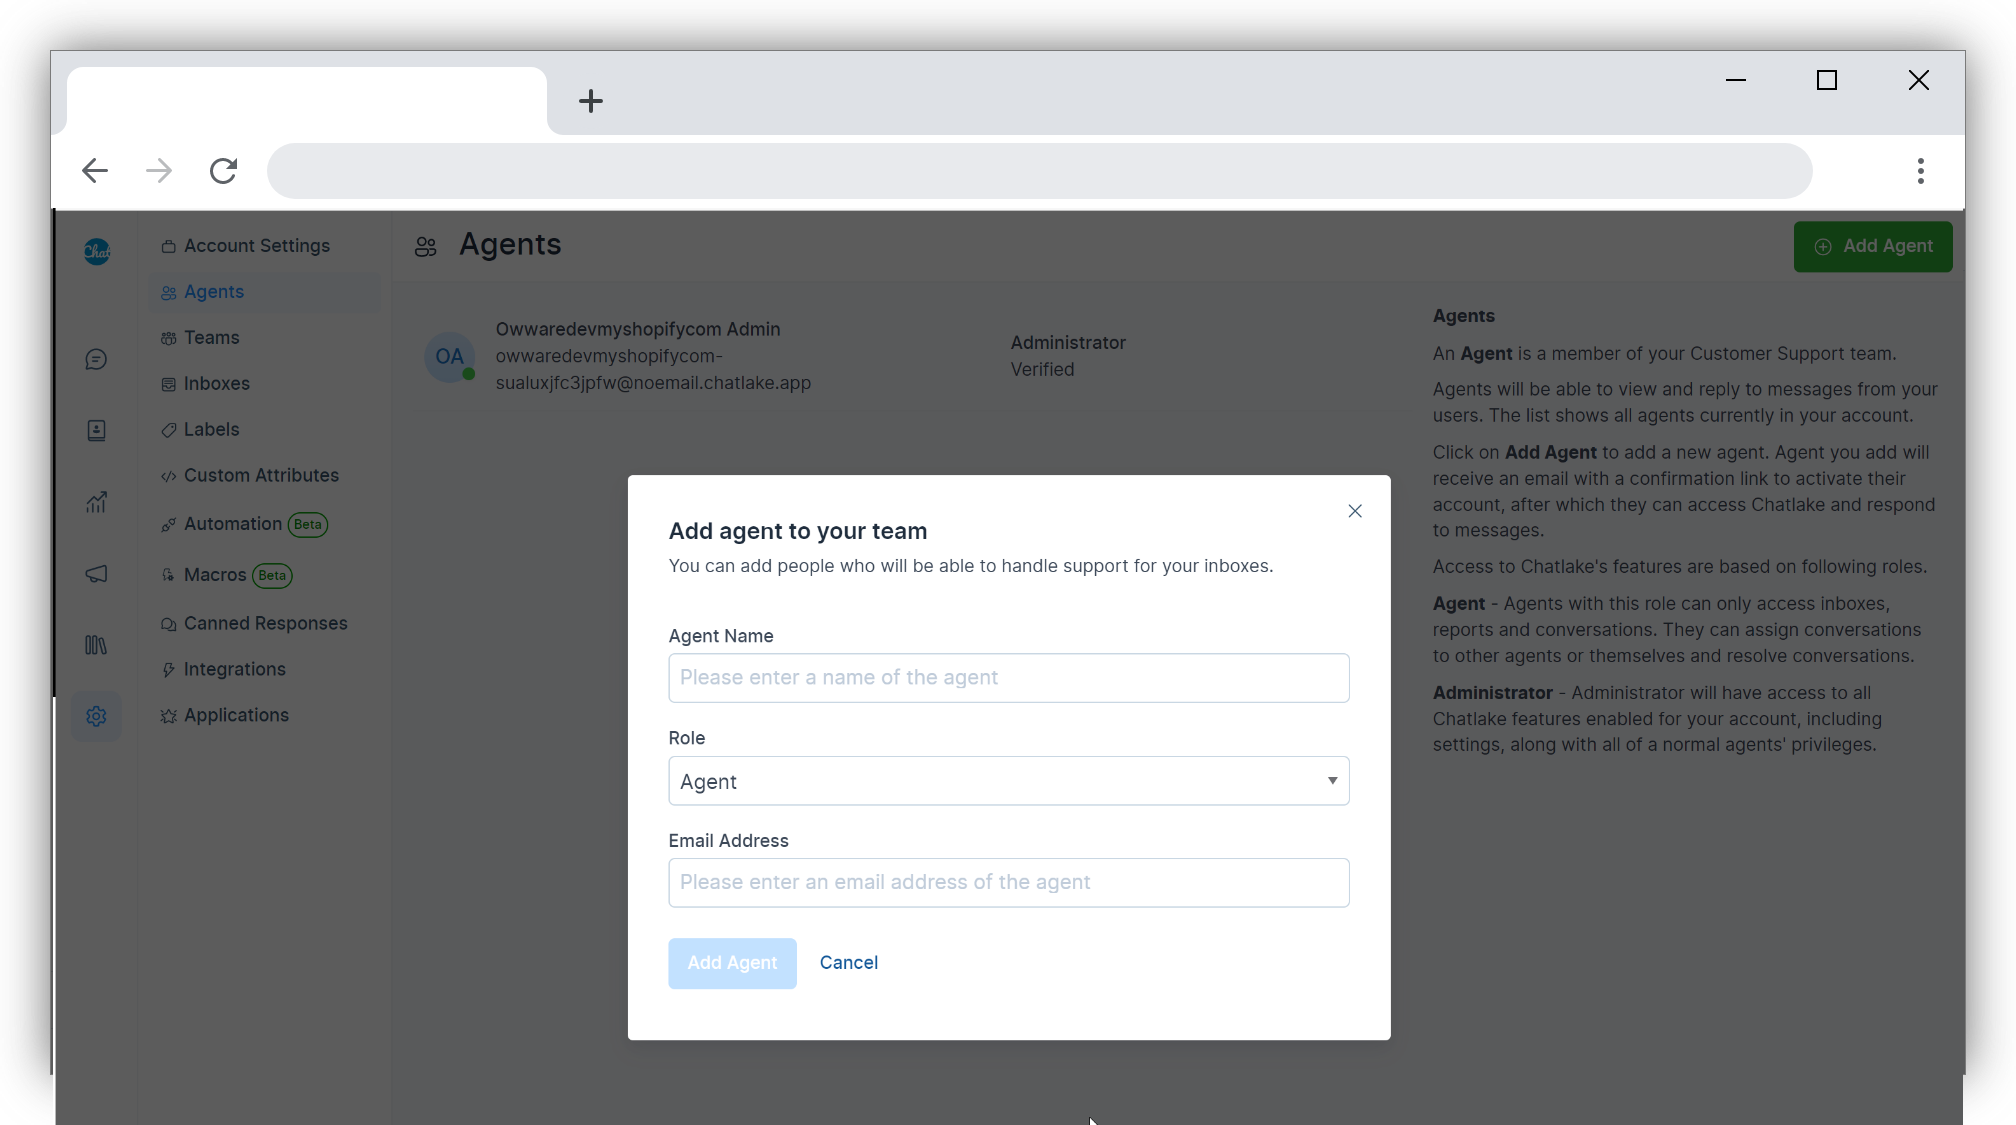
Click on Add Agent button on the Top Right Hand Side. A pop up window will open in which you can enter the details of the Agent like name, role and email address.
| Field Name | Value | Remarks |
|---|---|---|
| Agent Name | Enter Name of the Agent | eg: Don Pete |
| Role | Enter the Role - Agent or Administrator | Agents can only access inbox, reports, and conversations. Administrators have all privilages of agents and have access to all features of Chatlake |
| Your e-mail address | Enter the e-mail id you registered |
Click on Add Agent Button. "Agent Added Successfully" message will be displayed and the New Agent will be listed on the page.
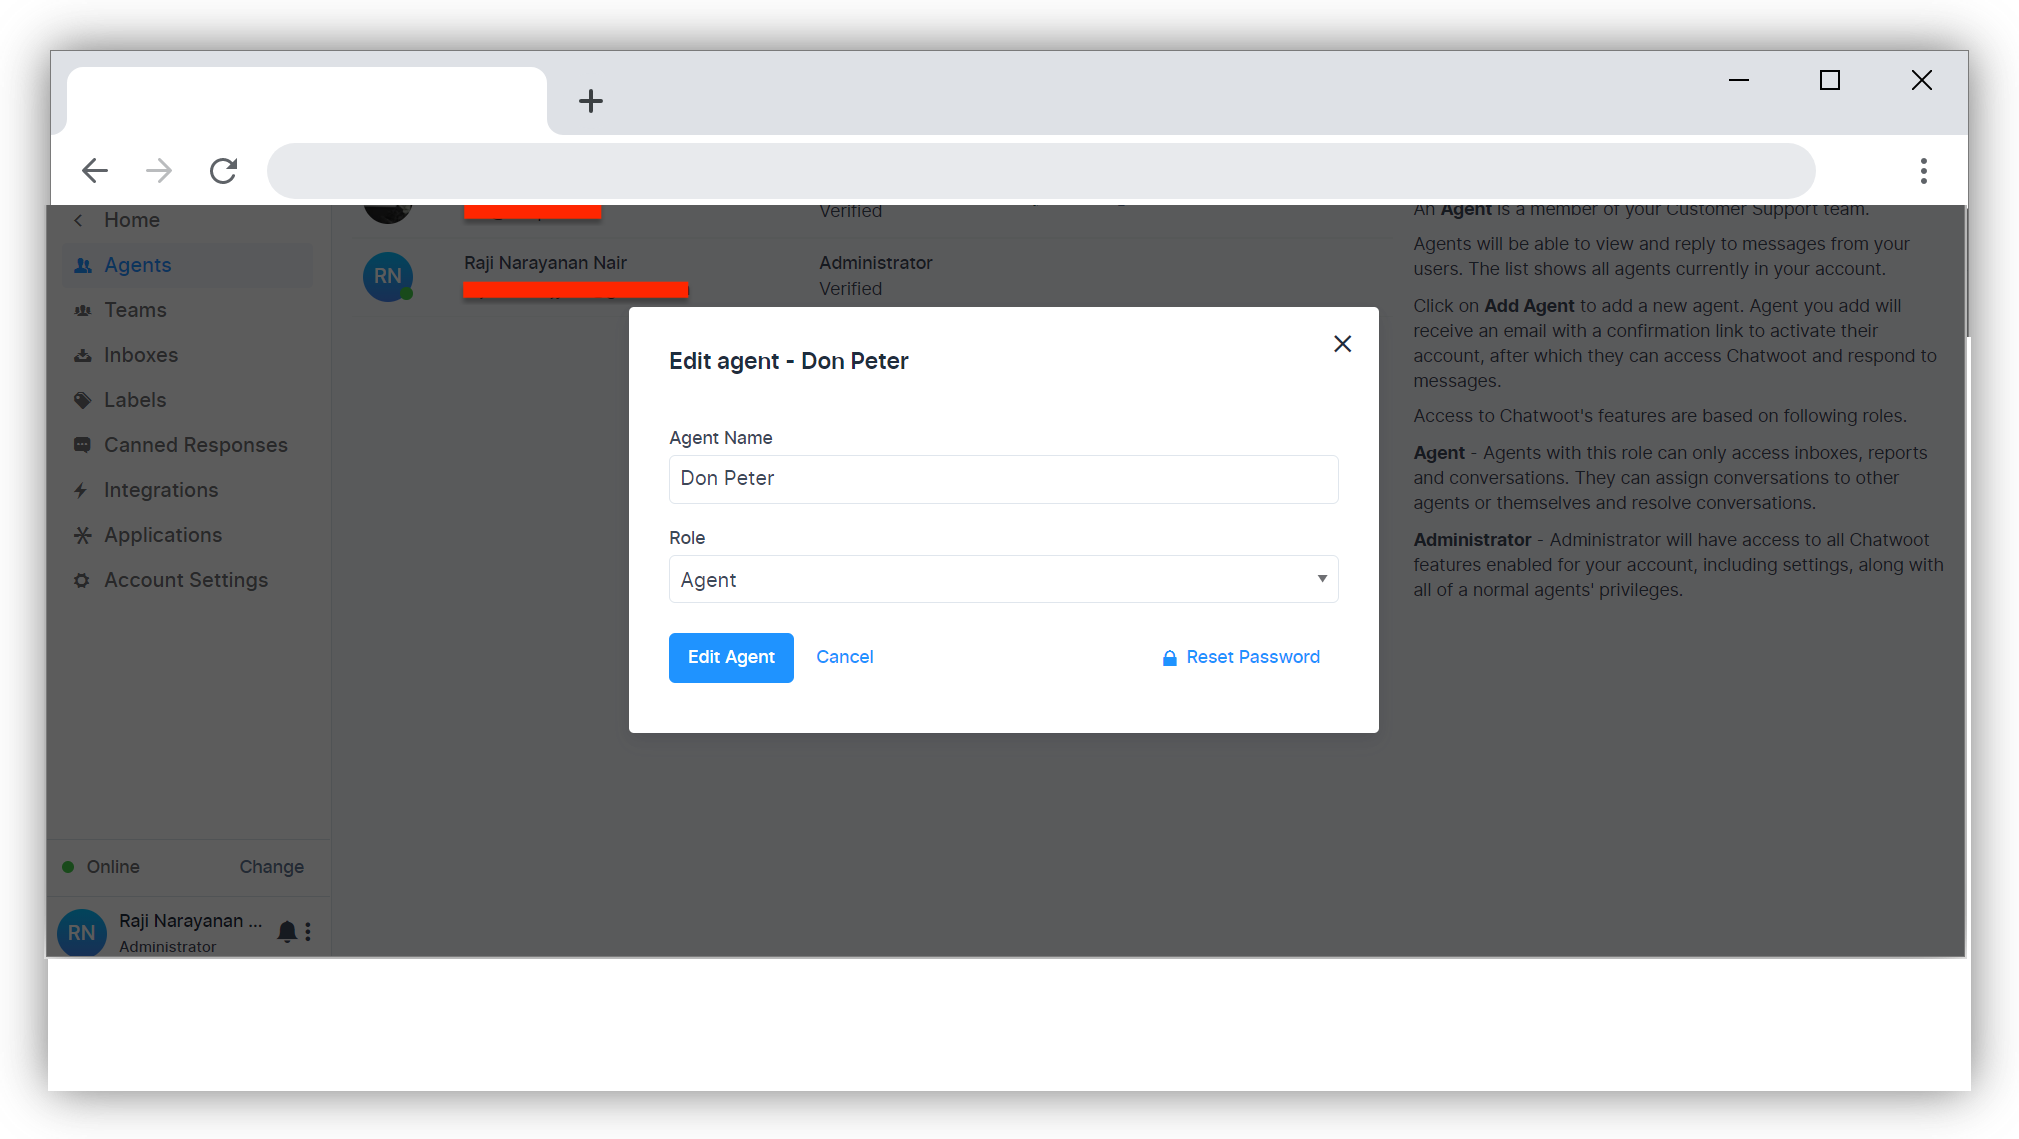
In case, you have entered the details incorrectly, this can be corrected using the Edit option in the Agents Screen.
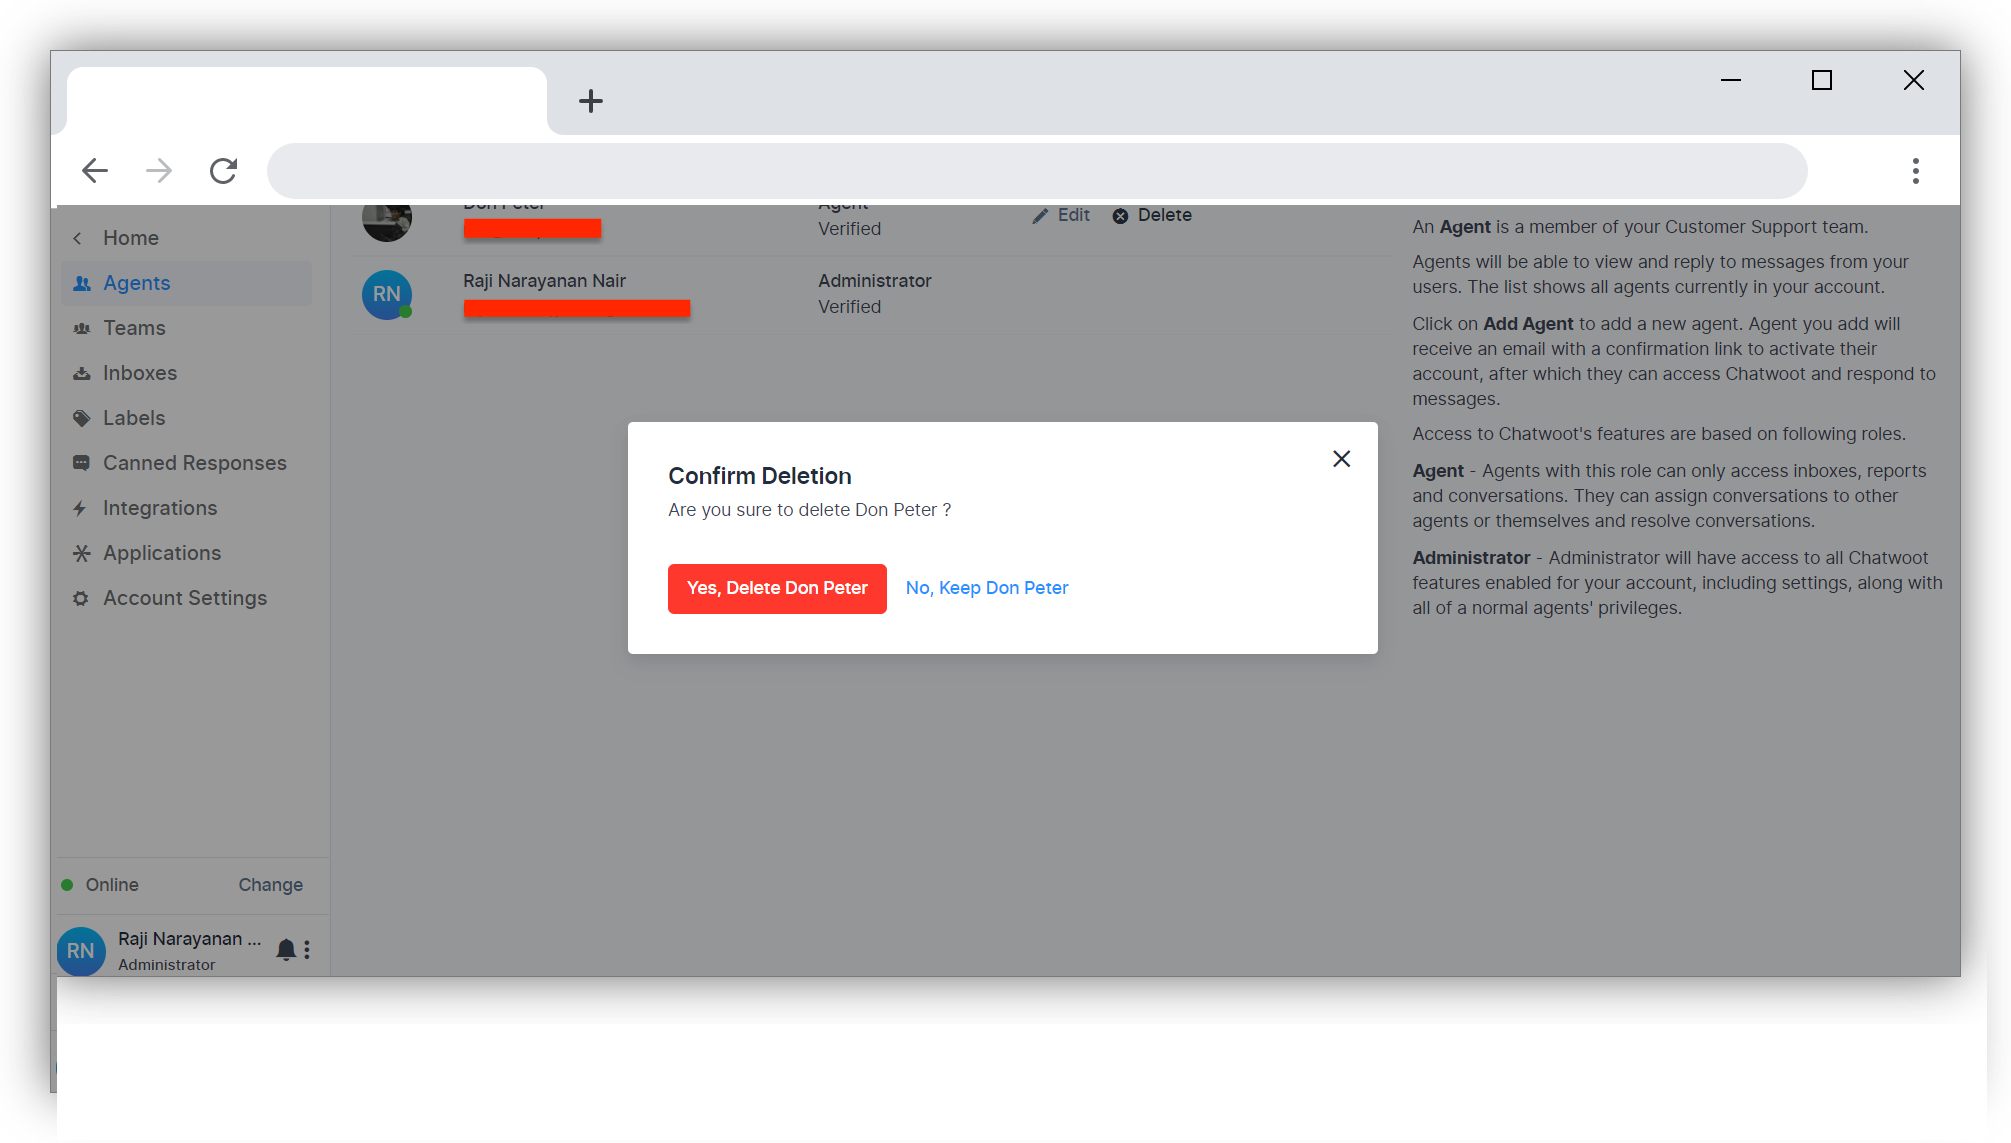
In case, the particular agent no longer works with you, you can go ahead and use the delete option to delete the agent from the dashboard.