Setting up Widget
Click on Inbox on the home screen. The Inbox you have created will appear here. If you have created multiple inboxes, click on the inbox for which you need to create the widget.
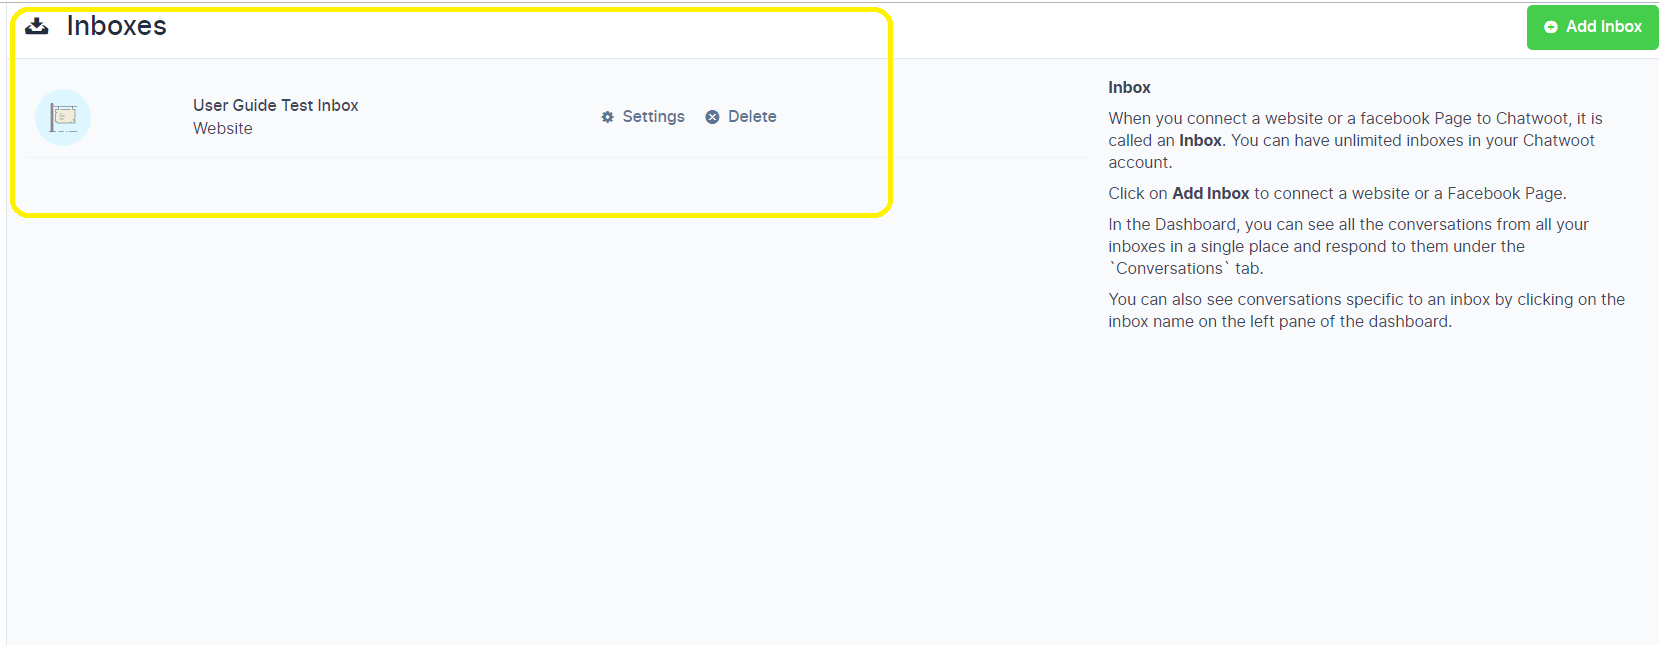
Click on Settings. Below Screen will open up. This screen shows the various Settings of the Inbox which can be changed.

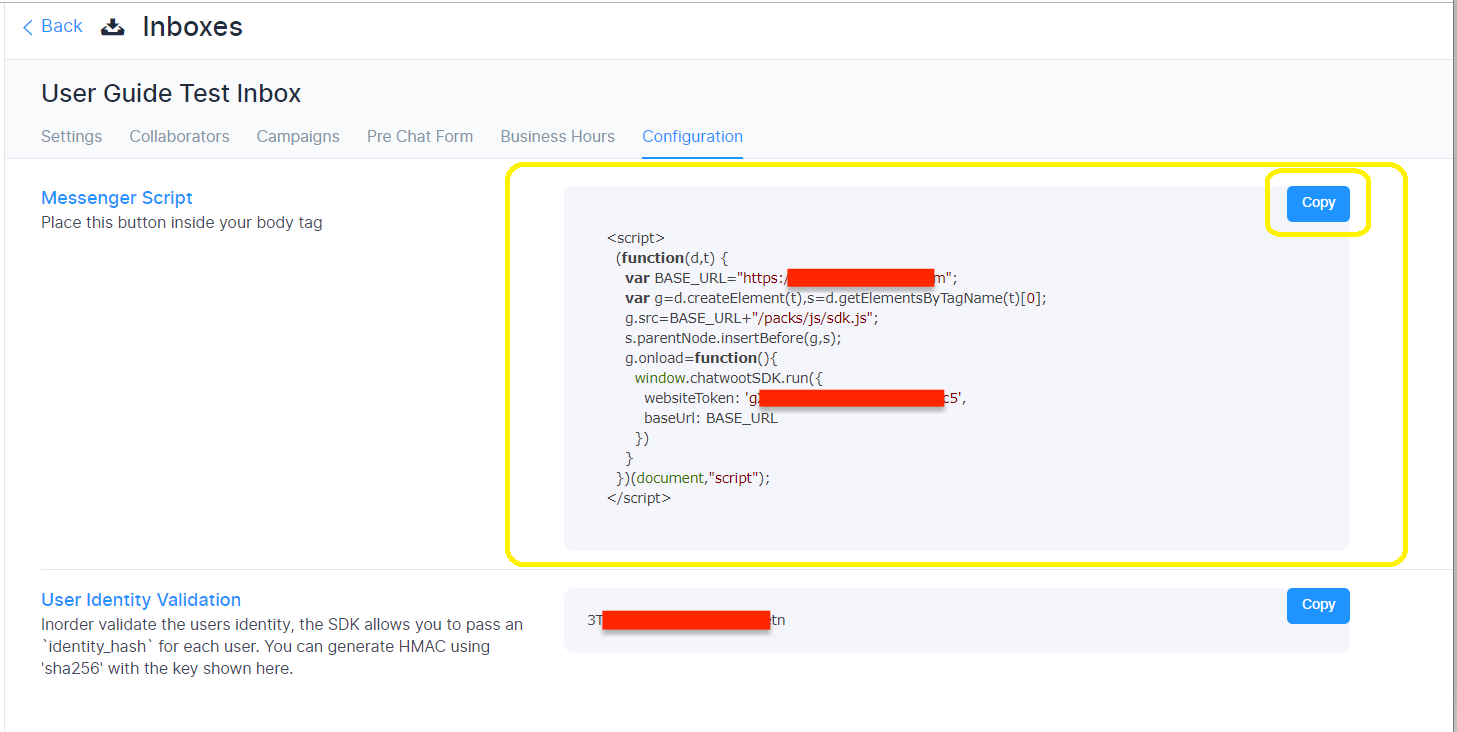
Root File of Website
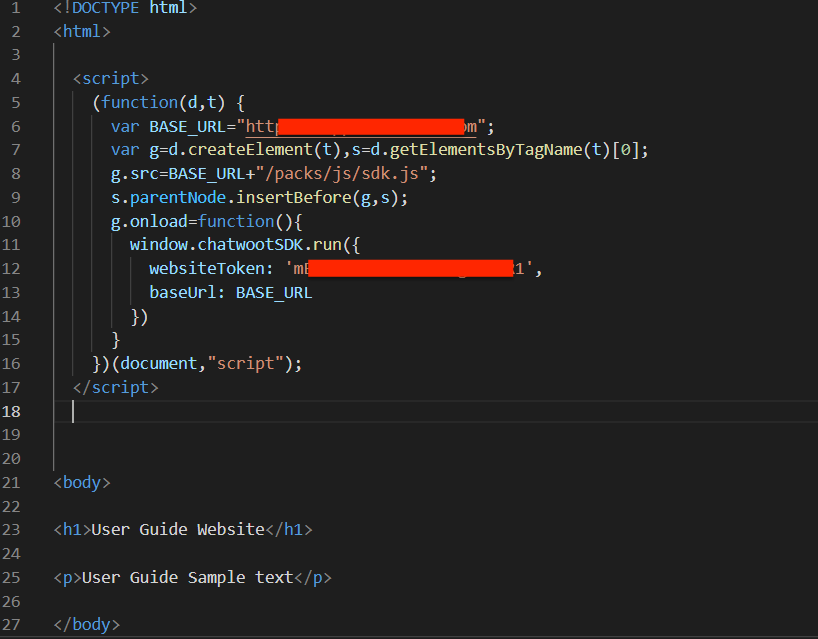
Click on Copy on the right-hand side. The code will be copied to the clipboard. Paste it in the Root file of the Website code. An example is given below
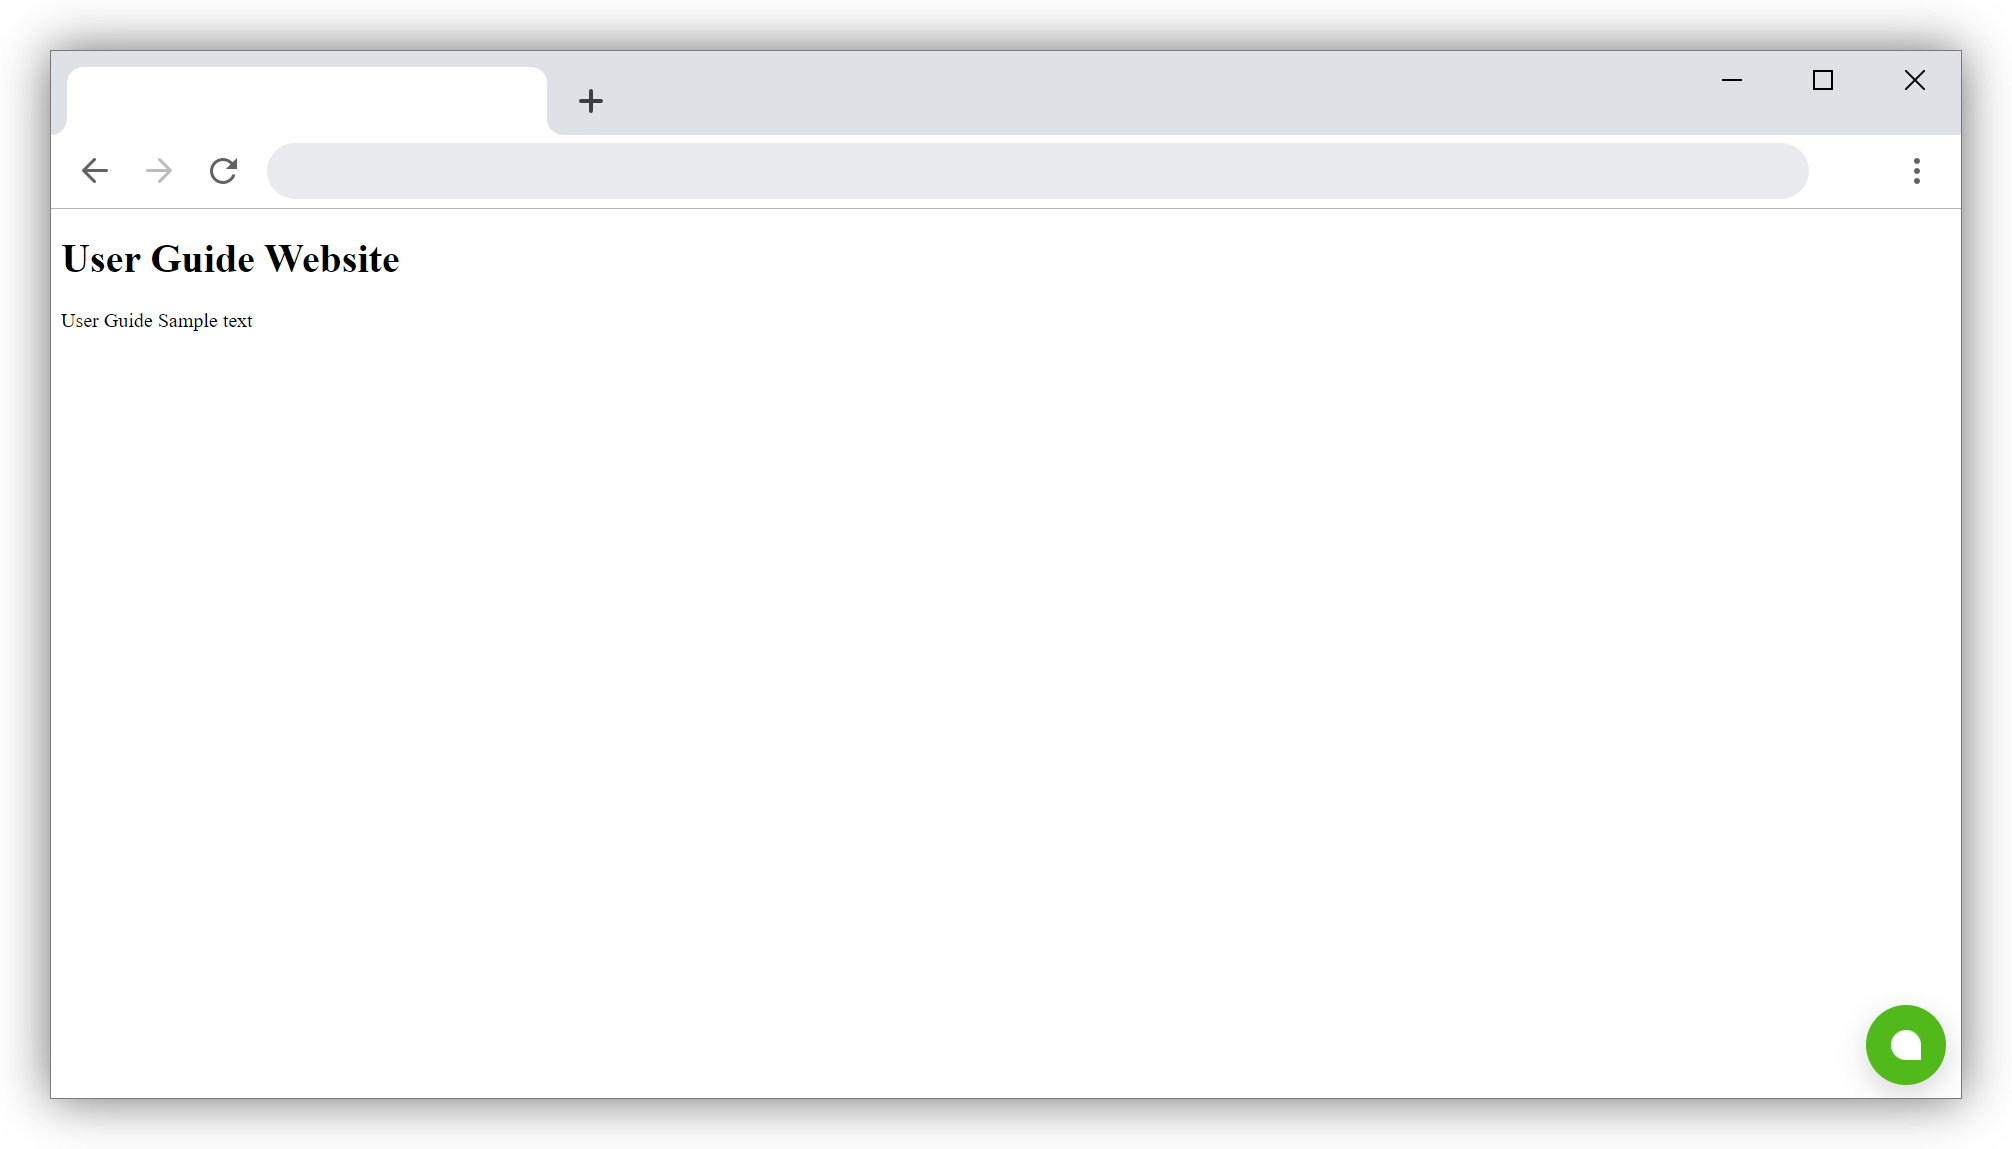
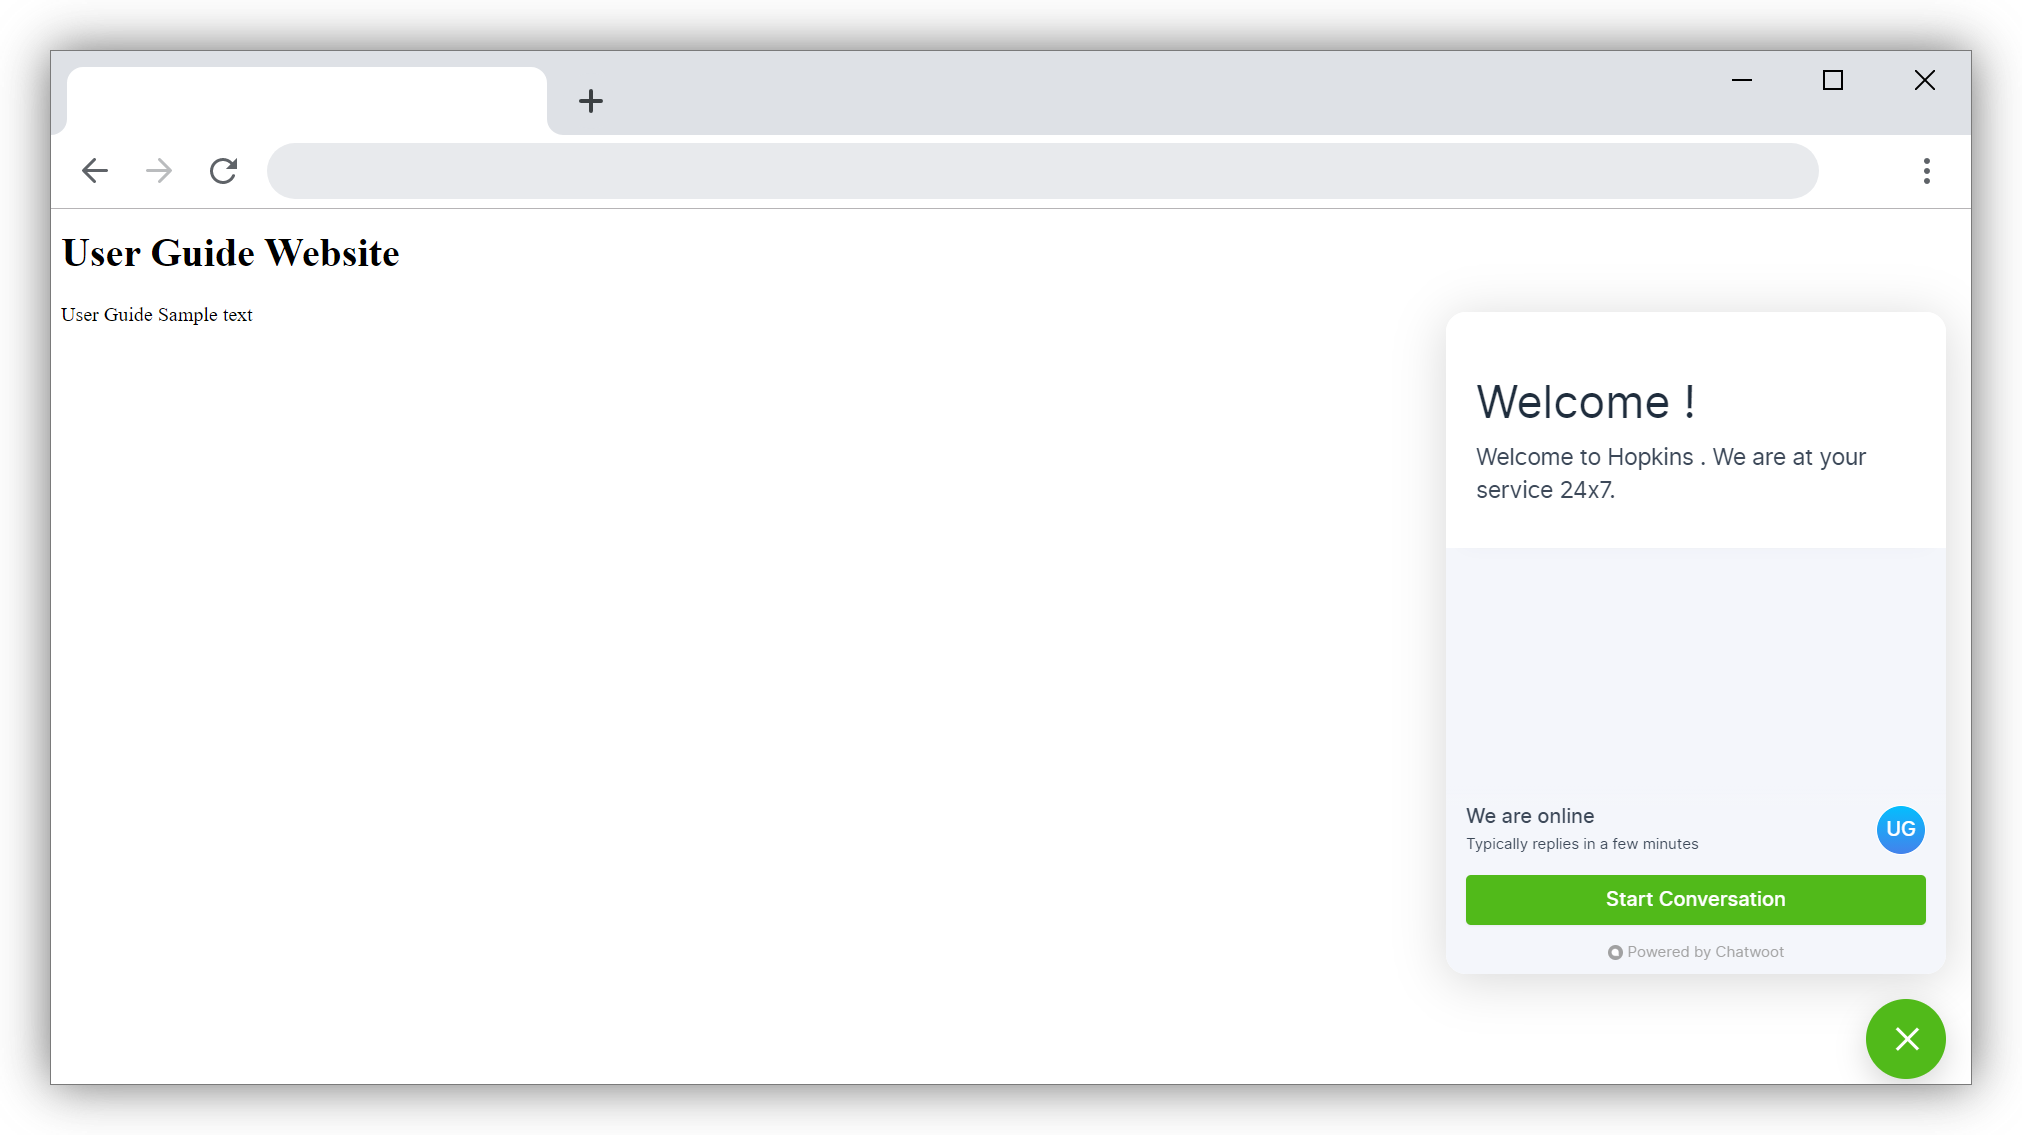
Now, if you open your webiste on the browser window, you can see that Chatlake Widget has been added to your website on the right hand side. This can be seen in the screen shot below.
Click on the Chatlake Widget on the screen. Chat Screen opens up like below. A chat window with the colour you selected, Welcome Tag Line you gave and Welcome Message you have given will open up. Customers will see this Chat window on their screen.
Once the Customer clicks on Start Conversation and sends a message, The conversation tagline will appear on the chat window.
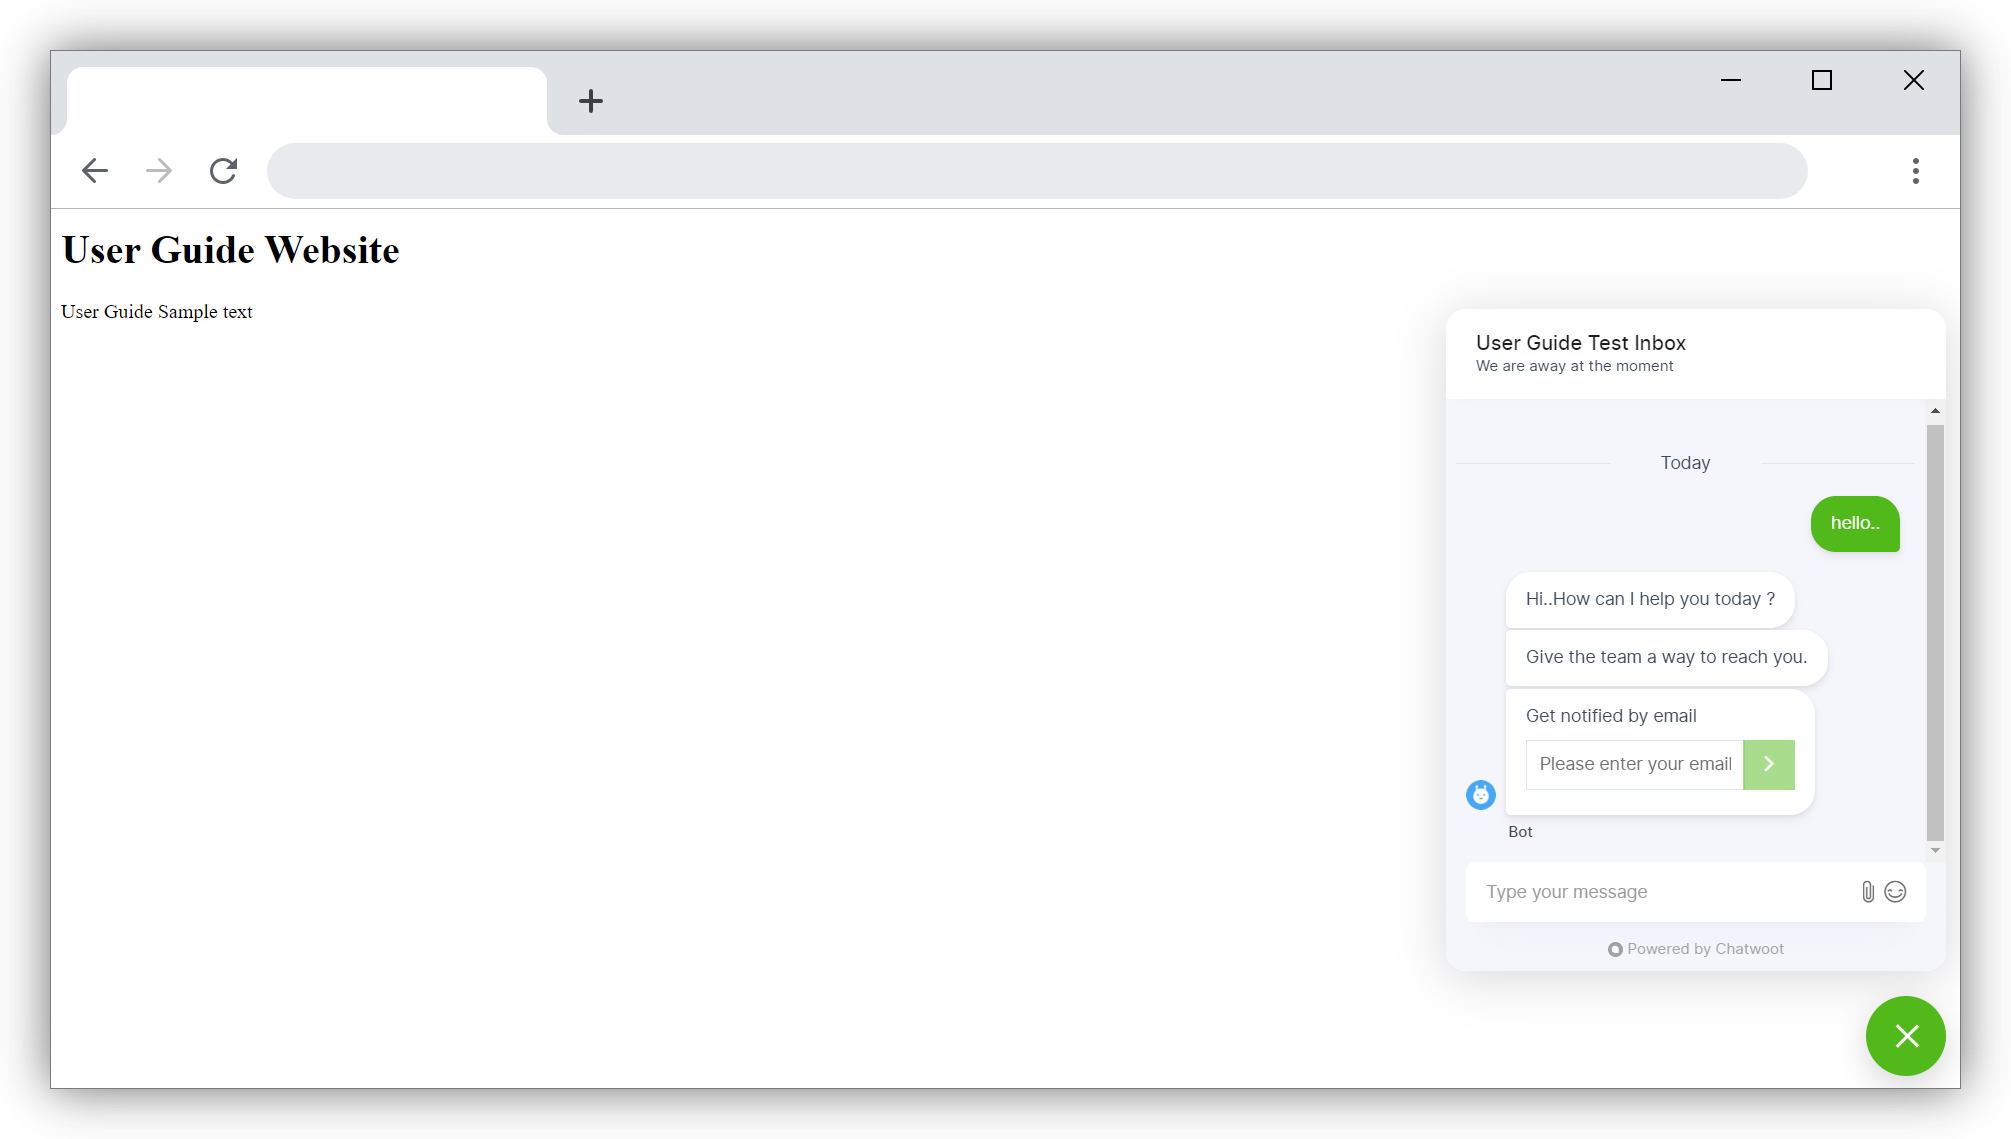
Since the Collect e-mail ID is enabled, the Customer recieves a prompt to enter email-ID.